My little bug wanted an apron, she's very domestic that way. Well as domestic as a three year old can be.
I grabbed some fabric scraps and set to work and came up with something we are both very pleased with.
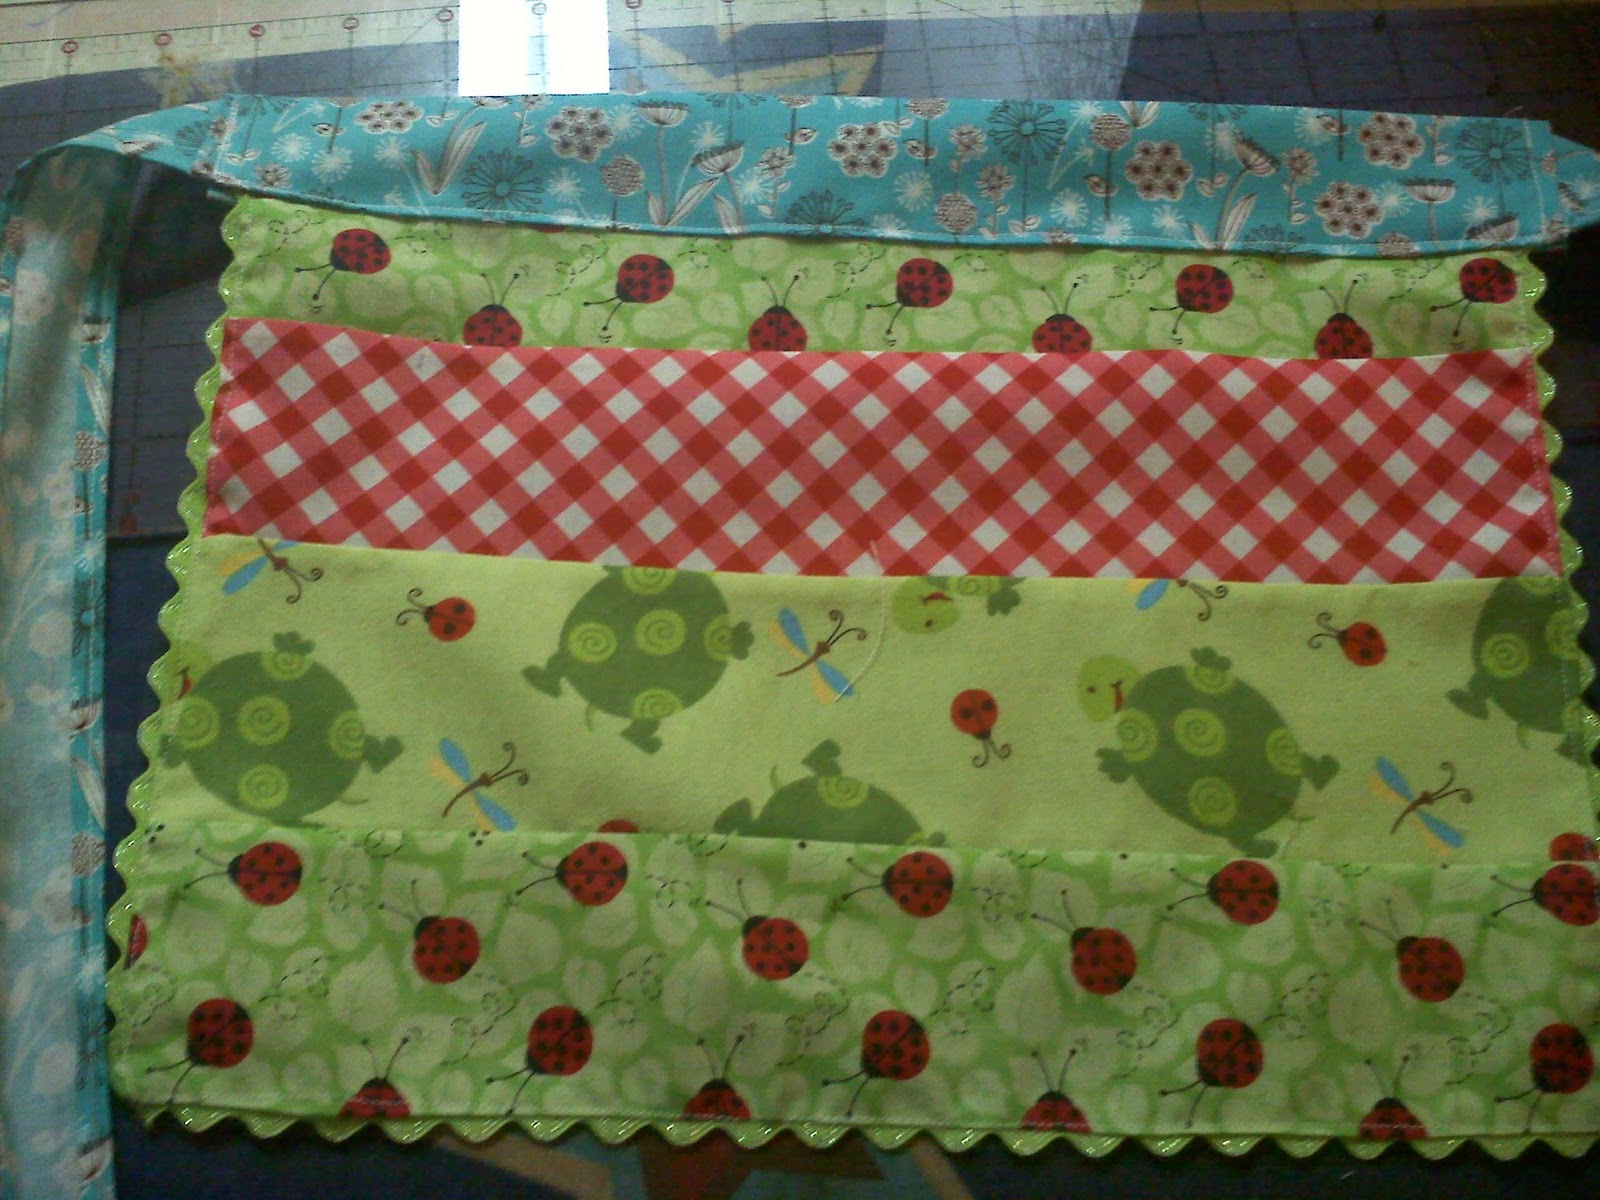
You'll need a 8"x8" square and a 13"x10" rectangle for the top and bottom of the apron. I quilted together 3"x3" squares and 13"x3" pieces of my fabrics to make these two sections.
Then for the ties, waist, and neck strap. I used one fabric. For the ties I cut two pieces 2.5"x24.5", for the waist I cut one piece 4"x14", and for the neck I used a pieces that was 2"x17". However, I must admit I wish I had increased the neck to at least 3"x17".
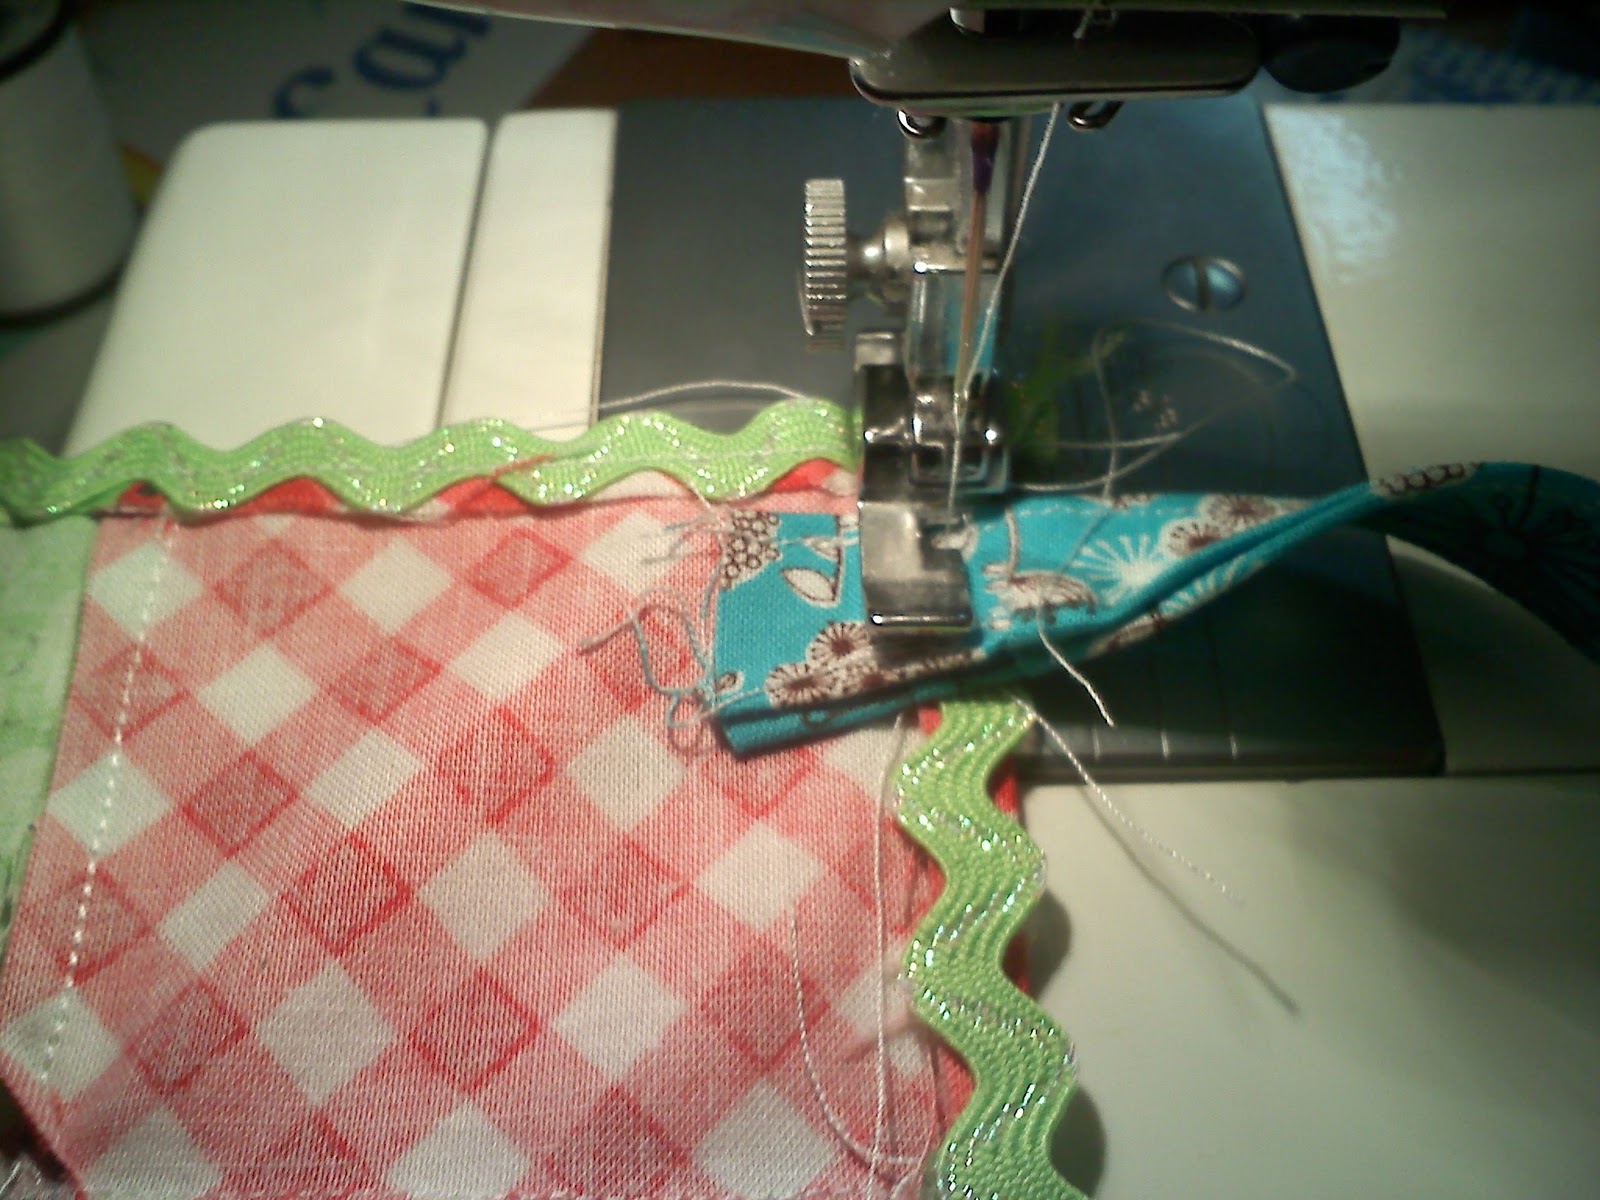
After cutting my pieces I ironed a 1/4th" hem in three sides for the 8"x8" square. This will make the top and sides of this section. For the 13"x10" fabric I again ironed a 1/4" hem on the two 10" sides and one of the 13" side to make the sides and bottom of this section. When I sewed the hem in place I added ric rac to give the apron a little bit more ... umm glitz ...
For the neck strap I ironed the two long sides 1/4" then folded the piece in half and sewed it into a long tube before I attached the ric rac to the top section. This way I could attach the strap to the top two corners when I attached the ric rac.
To prepare the apron ties I folded over the two long sides twice with a 1/8" to1/4" hem and basted that down and then folded one short end twice and basted that down also.
Then you'll take the waist and iron a 1/4" hem on all sides and then iron the whole strip in half so the bottom section of your apron can be inserted into the waist.
To attach the ties to the apron insert them in the waist. Then sew the sides the sides and bottom of the waist to secure everything.
You could always stop here and have a very cute half apron. My bug however requested a full apron so I shall continued on.
Ok, so this is the part where I plead for your forgiveness for my poor picture. It was late and to be honest I took all these pics with my phone. Anyhow I simple placed the top apron on the waist with the backs facing up on both pieces and stitched all along the top of the waist.
Wow, first tutorial and first real post. Talk about being nervous.